
Welcome back to Chaos Free Weekend Project, where we provide a fun project for you to tackle over your weekend. We publish each Friday at 9 AM!
This week, I will be explaining how to use Apple’s beta software on your own device!
Minimum Requirements -
An Apple device (Mac, iPad, iPhone, Apple TV, Apple Watch, Apple Vision Pro)
(Optional but highly recommended) An external drive to backup your device
Intermediate to advanced understanding of technology
Before we get into the tutorial, let’s cover why you might want to use Apple’s beta software — and why you might not.
What’s new?
Last month, Apple announced their new ‘26’ lineup of OS versions. The brand new macOS 26 (Tahoe) introduces tinted app icons, a brand new Spotlight search, and iPhone's live actions to the menu bar. iOS 26 adds call screening for unknown numbers, polls in iMessage, and so much more. All of Apple’s 26 software includes the new Liquid Glass design language.
Should you use beta software?
Although there are many fantastic new features in Apple’s new operating systems this year, you might want to wait until the fall when the official versions are released. If you are going to use a beta, make sure you only install it on personal devices that aren’t managed by a school or company as they can break functionality with mobile device management.
Developer Beta or Public Beta
Before we begin, you have the option to choose between Developer Beta, or Public Beta. Public Betas tend to be more stable than Developer Betas, but the latter receives new features sooner than the former. In order to access the Developer Beta, you first have to sign up for a free Apple Developer account (detailed in Step #2.5).
Step #1 - Backup your device
Considering that all Apple Beta software can contain bugs, it is always encouraged to backup your device to an external drive using Time Machine before installing. For a Mac, go to System Settings by pressing command + space and typing “System Settings” in Spotlight Search. Once you see the app, press enter.
In the search bar, type “Time Machine” and click on the icon that appears. Once you are in the Time Machine page, press “Add Backup Disk” and plug in your external drive. Time Machine will erase the selected volume, so be sure to make a partition for your current files before proceeding.
Once you set up your volume, start one backup by right clicking your Time Machine volume and pressing “Back up [volume name] now.”
Step #2 - Enroll your Apple ID in the Beta Program
First, go to beta.apple.com, and press the blue “Sign Up” button on the webpage. Then, sign in with your Apple ID, and press “Agree” to the Apple Beta Software Agreement. Congrats, you are officially now an Apple Beta-Tester!
Step #2.5 (Developer Beta) - Enroll your Apple ID in the Developer Program
If you want to access the less-stable Developer Beta, go to developer.apple.com and press the “Account” button in the top-right corner. If you are still signed in to your Apple ID, you should see a page with the Apple Developer Agreement, if you would like to agree to the terms, press the “Agree” button.
Step #3 - Install the beta on your selected device
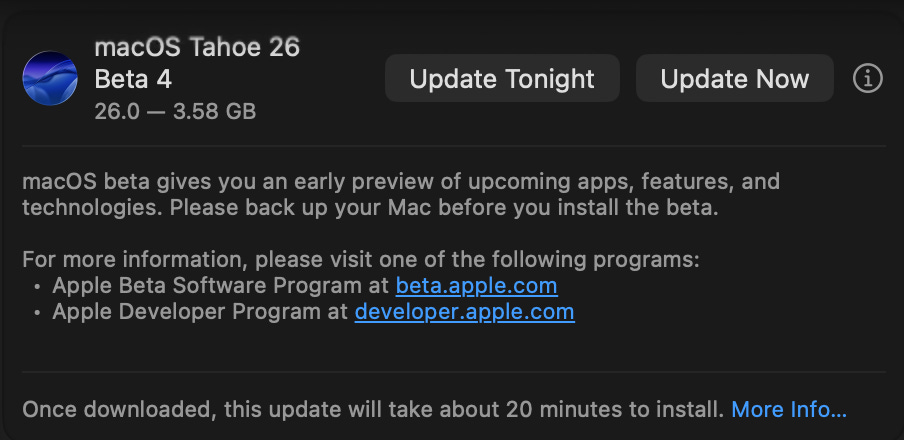
On Mac, go to System Settings → General → Software Update, click the ⓘ icon next to “Beta Updates,” and choose between the Developer Beta (see step 2.5) or the Public Beta.

You will now be able to install the software on your selected device!
If you have any suggestions for more Chaos Free Weekend Projects, email us at chaoticsynchronytech@gmail.com.